Rehberi takip ediyoruz Displayio UI Elemanları ile PyPortal Hesap Makinesi oluşturmak için Wio Terminal üzerinde.
Adafruit tarafından sağlanan rehber, CircuitPython Displayio kütüphanesi aracılığıyla mevcut olan Kullanıcı Arayüzü (UI) elemanlarını genişletiyor. Cihazda gerçek hesaplamalar yapmak için kolayca kullanabilirsiniz. Eğitimlerde PyPortal kullanıldı; PyPortal, dokunmatik ekranı ve büyük ekranıyla hesap makinesi olarak kurmak için mükemmel bir cihazdır.
Rehbere dayanarak, Wio Terminal kullanarak hesap makinesini oluşturduk! Yerleşik joystick’i buton olarak kullanabilirsiniz.
Kod aşağıdaki gibidir:
"""
PyPortal Hesap Makinesi Demo
Wio Terminal için Anson (Seeed) tarafından ayarlandı
"""
import time
from collections import namedtuple
import board
import displayio
from adafruit_display_text.label import Label
from adafruit_bitmap_font import bitmap_font
from adafruit_display_shapes.rect import Rect
from adafruit_button import Button
from calculator import Calculator
import adafruit_touchscreen
Coords = namedtuple("Point", "x y")
from digitalio import DigitalInOut, Direction
# 5 - yönlü Anahtar
UP = DigitalInOut(board.SWITCH_UP)
DOWN = DigitalInOut(board.SWITCH_DOWN)
LEFT = DigitalInOut(board.SWITCH_LEFT)
RIGHT = DigitalInOut(board.SWITCH_RIGHT)
PRESS = DigitalInOut(board.SWITCH_PRESS)
# Ayarlar
BUTTON_WIDTH = 60
BUTTON_HEIGHT = 30
BUTTON_MARGIN = 8
MAX_DIGITS = 29
BLACK = 0x0
ORANGE = 0xFF8800
WHITE = 0xFFFFFF
GRAY = 0x888888
RED = 0xFF0000
LABEL_OFFSET = 290
STARTING_X = 50
STARTING_Y = 50
# Ekran bağlamını oluştur
calc_group = displayio.Group(max_size=25)
board.DISPLAY.show(calc_group)
# Arka plan rengi doldur
color_bitmap = displayio.Bitmap(320, 240, 1)
color_palette = displayio.Palette(1)
color_palette[0] = GRAY
bg_sprite = displayio.TileGrid(color_bitmap,
pixel_shader=color_palette,
x=0, y=0)
calc_group.append(bg_sprite)
# Yazı tipini yükle
font = bitmap_font.load_font("/fonts/Arial-12.bdf")
buttons = []
# Bazı buton fonksiyonları
def button_grid(row, col):
return Coords(BUTTON_MARGIN * (row + 1) + BUTTON_WIDTH * row + 20,
BUTTON_MARGIN * (col + 1) + BUTTON_HEIGHT * col + 40)
def add_button(row, col, label, width=1, color=WHITE, text_color=BLACK):
pos = button_grid(row, col)
new_button = Button(x=pos.x, y=pos.y,
width=BUTTON_WIDTH * width + BUTTON_MARGIN * (width - 1),
height=BUTTON_HEIGHT, label=label, label_font=font,
label_color=text_color, fill_color=color, style=Button.ROUNDRECT)
buttons.append(new_button)
return new_button
def find_button(label):
result = None
for _, btn in enumerate(buttons):
if btn.label == label:
result = btn
return result
border = Rect(20, 8, 280, 35, fill=WHITE, outline=BLACK, stroke=2)
calc_display = Label(font, text="0", color=BLACK, max_glyphs=MAX_DIGITS)
calc_display.y = 25
clear_button = add_button(0, 0, "AC")
add_button(1, 0, "+/-")
add_button(2, 0, "%")
add_button(3, 0, "/", 1, ORANGE, WHITE)
add_button(0, 1, "7")
add_button(1, 1, "8")
add_button(2, 1, "9")
add_button(3, 1, "x", 1, ORANGE, WHITE)
add_button(0, 2, "4")
add_button(1, 2, "5")
add_button(2, 2, "6")
add_button(3, 2, "-", 1, ORANGE, WHITE)
add_button(0, 3, "1")
add_button(1, 3, "2")
add_button(2, 3, "3")
add_button(3, 3, "+", 1, ORANGE, WHITE)
add_button(0, 4, "0", 2)
add_button(2, 4, ".")
add_button(3, 4, "=", 1, ORANGE, WHITE)
# Ekranı ve butonları ana hesap gruba ekle
calc_group.append(border)
calc_group.append(calc_display)
for b in buttons:
calc_group.append(b.group)
calculator = Calculator(calc_display, clear_button, LABEL_OFFSET)
x = 0
y = 0
button = ""
old_point = (0, 0)
while True:
# İmleci hareket ettirme
if (LEFT.value == False) and x != 0:
time.sleep(0.2)
x -= 50
if (x == 100): x -= 50
elif (RIGHT.value == False) and x != 200:
time.sleep(0.2)
x += 50
if (x == 100): x += 50
elif (UP.value == False) and y != 0:
time.sleep(0.2)
y -= 45
elif (DOWN.value == False) and y != 180:
time.sleep(0.2)
y += 45
point = (STARTING_X+x, STARTING_Y+y)
if old_point is not (0, 0) and old_point != point: # Seçilen eski noktayı temizleme
for _, b in enumerate(buttons):
if b.contains(old_point) and button == "":
last_op = calculator.get_current_operator()
if (last_op in ('+', '-', 'x', '/') and b.label == last_op): # operatörler için koşul
continue
b.selected = False
old_point = point
if point is not (0, 0):
# Buton Aşağı Olayları
for _, b in enumerate(buttons):
if b.contains(point) and button == "":
b.selected = True
if (PRESS.value == False):
time.sleep(0.3)
button = b.label
if button != "":
# Buton Yukarı Olayları
last_op = calculator.get_current_operator()
op_button = find_button(last_op)
# Belirli butonlar basıldığında son işlemi seçimi kaldır
if op_button is not None:
if button in ('=', 'AC', 'CE'):
op_button.selected = False
elif button in ('+', '-', 'x', '/') and button != last_op:
op_button.selected = False
calculator.add_input(button)
b = find_button(button)
if b is not None:
if button not in ('+', '-', 'x', '/') or button != calculator.get_current_operator():
b.selected = False
button = ""
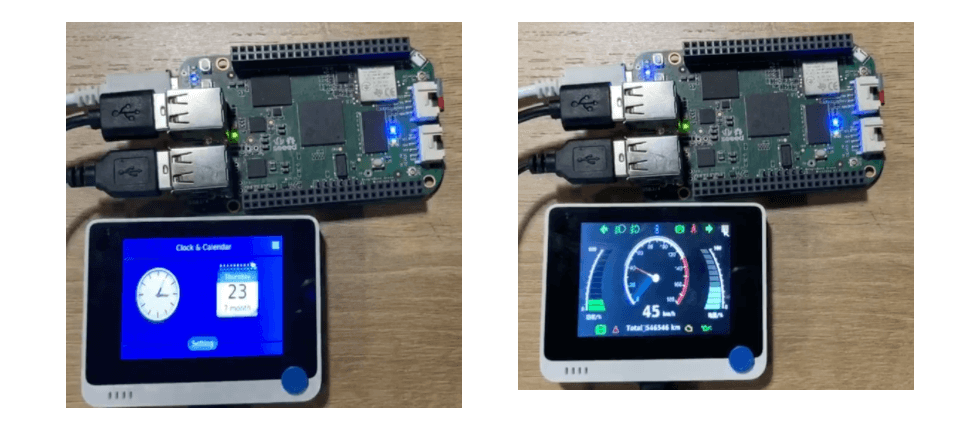
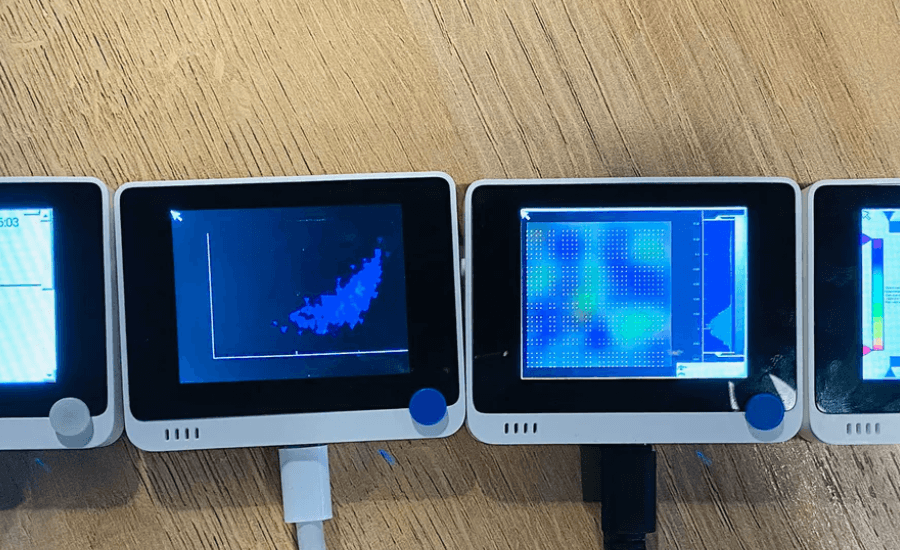
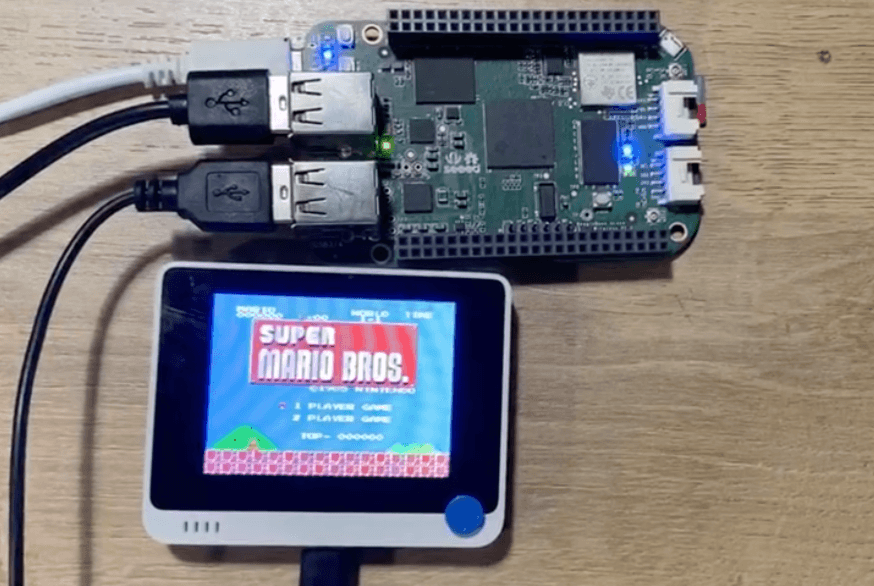
time.sleep(0.05)Artık Wio Terminal ile daha fazla Kullanıcı Arayüzü (UI) olasılığı olduğunu görebilirsiniz! Ayrıca, Wio Terminal’i retro oyun, takvim ve otomotiv gösterge paneli için bir USB HMI ekranı oluşturmak için de kullanıyoruz!
Bu eğitim, Wio Terminal’i BeagleBone için bir USB HMI ekranı olarak nasıl kullanacağınızı göstermektedir.
Bu eğitim, Wio Terminal’i BeagleBone için bir USB HMI ekranı olarak nasıl kullanacağınızı göstermektedir.
Ayrıca Wio Terminal’i masa takvimi ve otomotiv gösterge paneli olarak da kullanabilirsiniz!